

Are you in the Beauty Business?
Want to attract more customers?
Turn your Facebook page
into the booking system
and increase your profits.
How it works?


Ease of use
Simple, intuitive and ready to go out of the box for you and your customers. We guarantee you will be able to start taking appointments within a minute after installation

For individuals and small teams
No need for reception, extra personnel or pc. Facebook page and a smartphone is all you need

Fill in available dates
Immediately and effortlessly reach out to your customers on Facebook. Announce available time slots on Facebook and find customers even at the very last moment
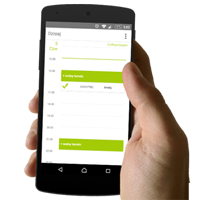
1. SELECT APPOINTMENT DATE
Mark a time slot as available on your smartphone.

2. REACH OUT TO CUSTOMERS
Information about available slots appears on Facebook, enabling customers to book appointments.
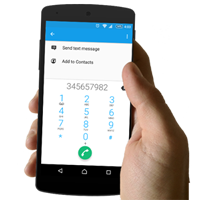
3. CONFIRM APPOINTMENT
Call your customer to confirm an appointment and collect more information.
Reservation Last Minute is available for Android smartphones.
App start and installation
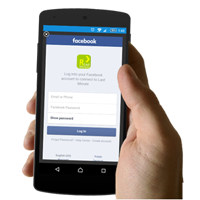
1. FIRST TIME
In order to use this application you must have an account and a company page on Facebook. If you don't, create a Facebook page first.
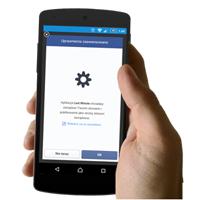
2. PERMISSIONS
In order to publish info about available appointments to Facebook, the application requires the "manage pages" and "publish pages" permissions.
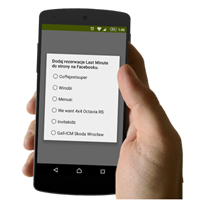
3. SELECT COMPANY
If you have many Facebook business pages, select the one you want to use with Reservation Last Minute (you must be an editor or an admin of the page).
Creating Facebook business page and adding an editor/administrator

1. CREATE PAGE
Log in to Facebook. On the left side of your Facebook profile find "PAGES" and select "Create Page".
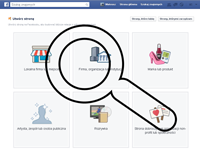
2. SELECT PAGE TYPE
Follow instructions, until the Facebook page for your business is ready.
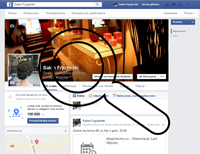
3. ADD AN ADMIN
Go to your new company Facebook page. In the upper right corner select "Settings" and then "Page Roles". Next, add people who may edit content of the page.
Creating Facebook business page and adding an editor/administrator

1. CREATE PAGE
Log in to Facebook. On the left side of your Facebook profile find "PAGES" and select "Create Page".

2. SELECT PAGE TYPE
Follow instructions, until the Facebook page for your business is ready.

3. ADD AN ADMIN
Go to your new company Facebook page. In the upper right corner select "Settings" and then "Page Roles". Next, add people who may edit content of the page.
Watch video
The application is in the testing stage and distributed free of charge.